Selling and scanning.
Sell a pass at the counter, tick off visits with the scanner, and undo a wrong scan.
Staff handle passes from the same counter screens as points and stamps. There are two moments: the sale, and each later visit.
Selling to a known member
The customer pays at your till first, like any purchase. Then:
- Open the member by scanning their QR code or from the search, then tap Sell a pass on their customer overview.
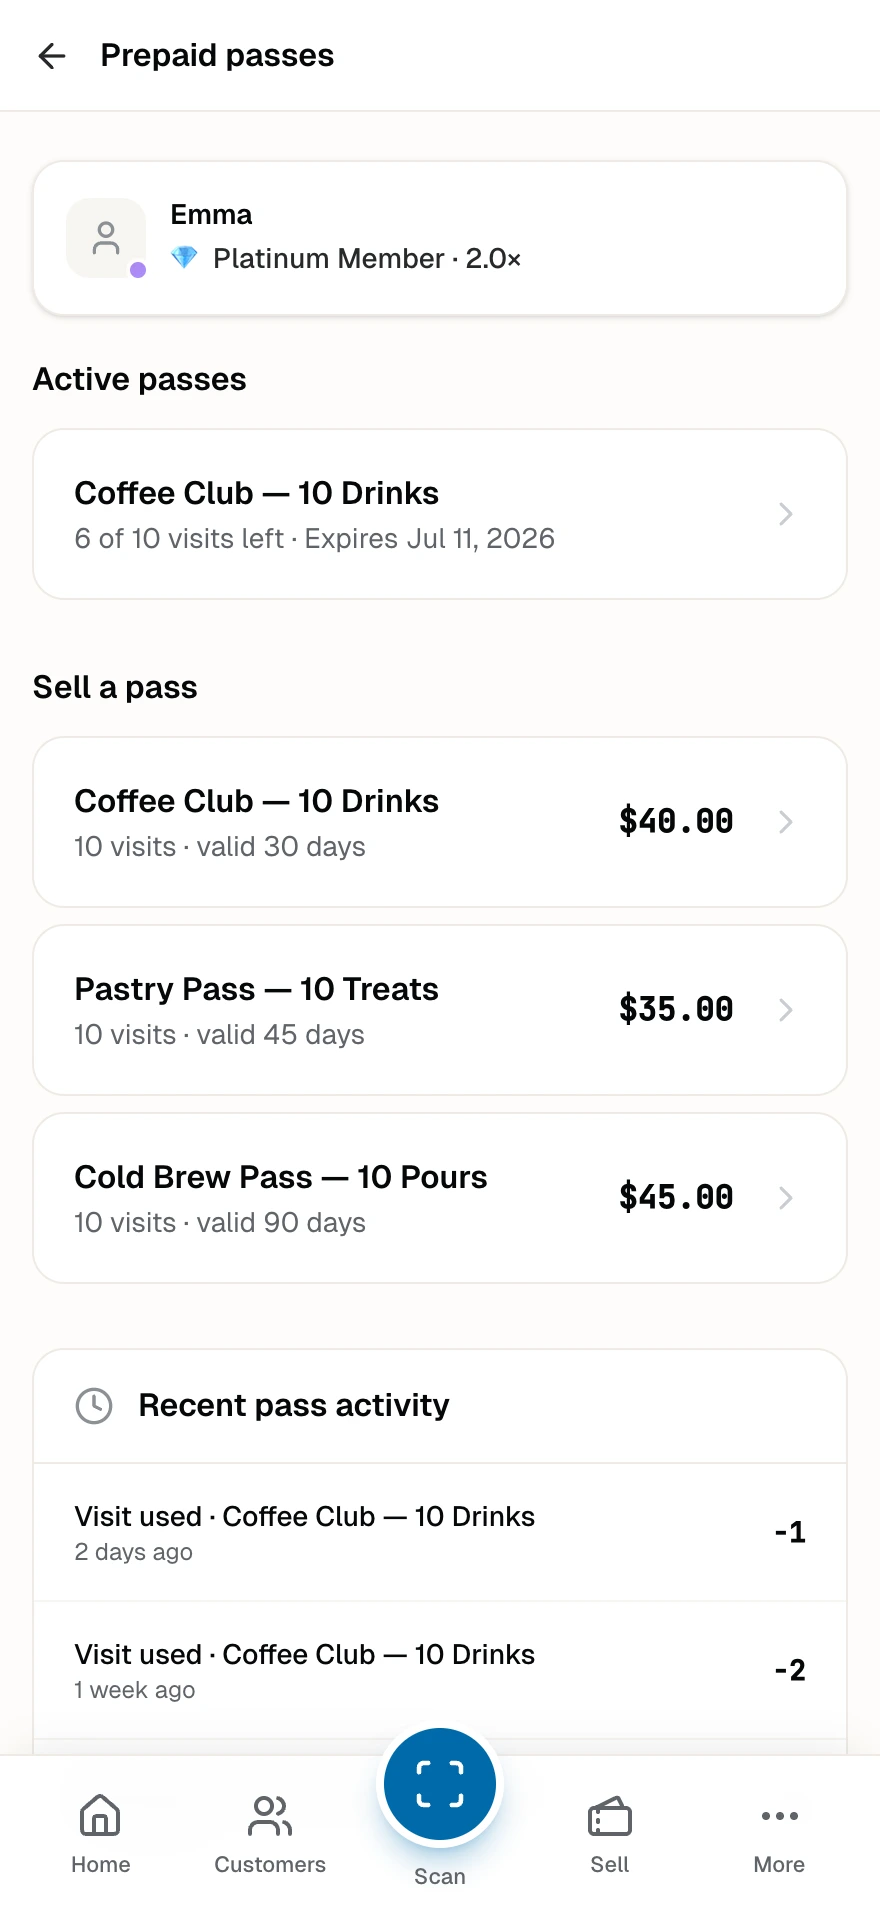
- The passes hub opens as a pushed screen. The member's card sits at the top; below it are their active passes and, under Sell a pass, your club's products with their prices.
- Tap a product. The sell screen shows the pass name, its terms (visits · valid days), and a Price charged field prefilled from the product. Adjust it if you charged a different amount; the platform records it for reports and no money moves through the app.
- Tap Sell pass. The pass lands in the member's wallet and they receive an email receipt.
The back arrow at the top left returns to the passes hub. If you changed the price field, a discard prompt asks you to confirm before leaving.
Selling a pass counts as activity with the business, the same as a first stamp. A brand-new customer becomes an active member from this moment. A customer who already held one of your cards showed on your member list as Not active yet, and the sale makes them active.
Selling the same pass to a customer who still holds one is fine. Each sale is its own pass with its own count and validity, and when the customer later uses one, the pass expiring first is picked.
Selling with a purchase code (no member search)
The Sell a pass tab in the bottom nav lets you sell without opening a member at all, useful for brand-new customers who are not in the system yet.
- Tap the product from the list. Each row shows the pass name, its terms, and the price.
- On the confirm screen, adjust the price if needed and tap Show QR code.
- The QR screen shows a large code. Ask the customer to scan it with their phone camera. The pass lands in their wallet on the spot, attributed to you. If they are not signed in yet, the app asks them to sign in or register first, then completes the purchase.
The code is signed, expires after a few minutes, and works once. The back arrow at the top left returns to the template picker.
A member can also start the purchase from their side: the pass's public product page shows a Buy at the counter code. Scanning that with your scanner opens the regular sell confirm for exactly that member and pass.
Ticking off visits
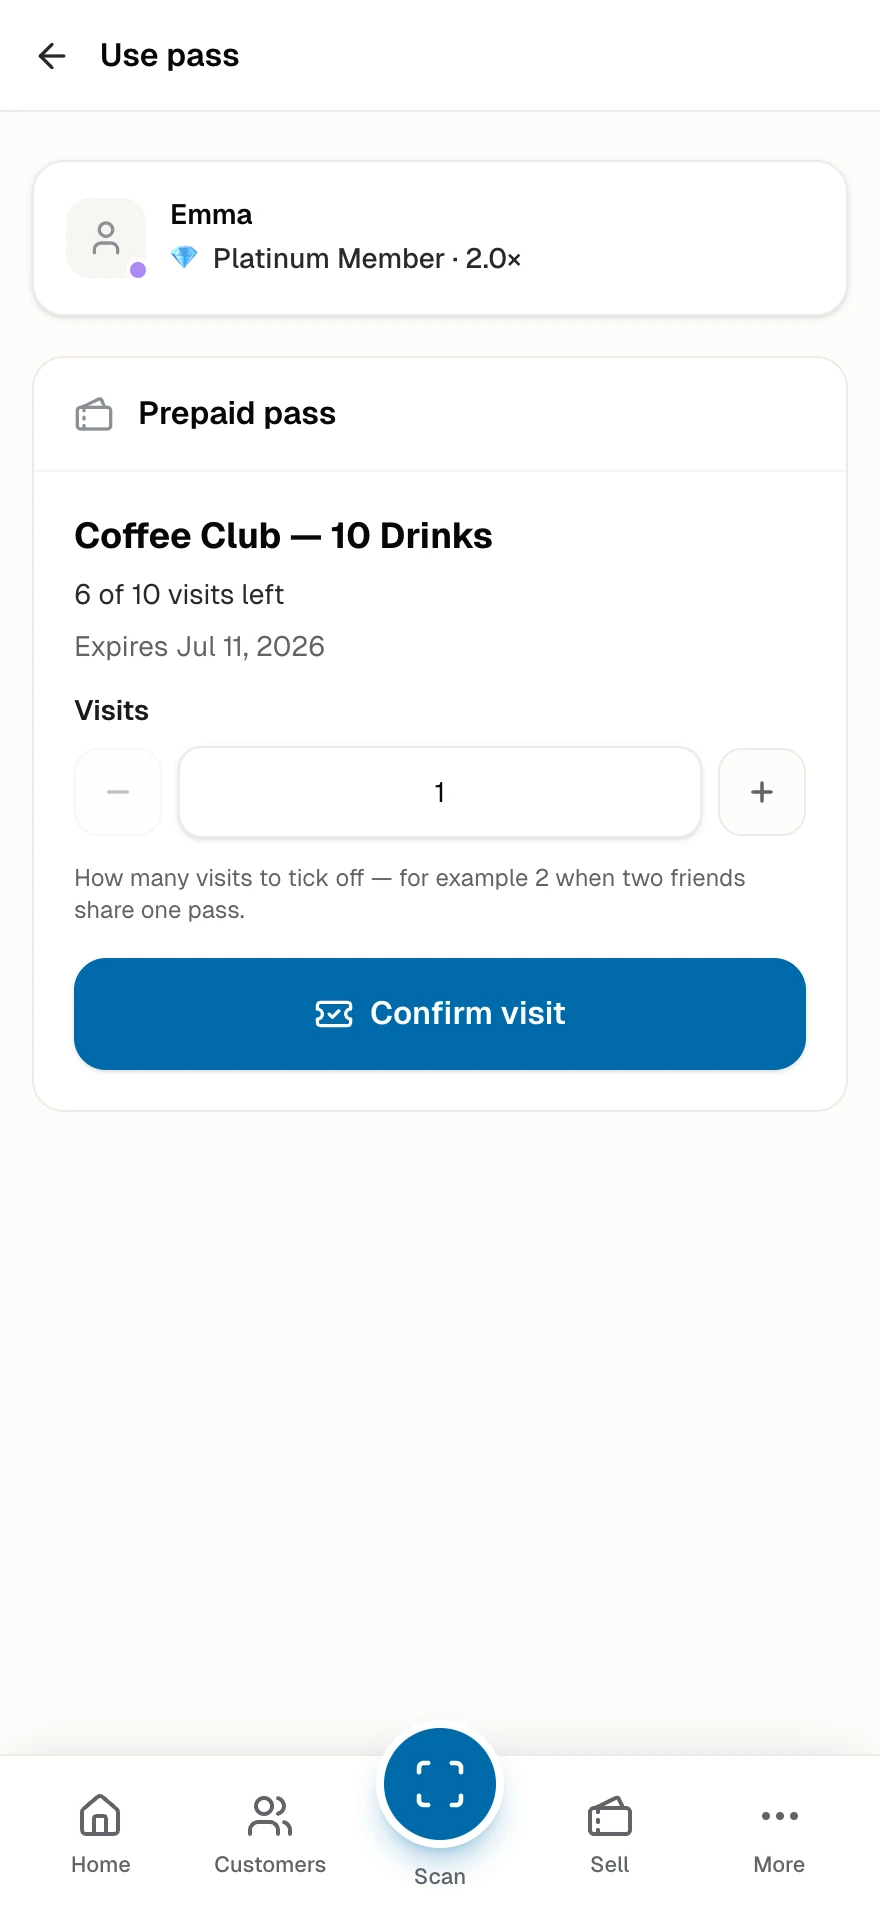
On each visit, the member shows the QR on their pass. Scanning it opens the use screen for that exact pass:
- The screen shows the member's card at the top, then the pass name, remaining visit count, and expiry date in the commit zone, so you can confirm the right pass before tapping anything.
- Set the number of visits to tick off in the Visits field. It defaults to 1; two friends sharing one 10-pack is a 2.
- Tap Confirm visit. The success message reports the new remaining count.
You can reach the same screen without the member's phone: open the member's customer overview and tap the pass row in the Prepaid passes section. It goes straight to the use screen.
When a member holds more than one pass of the same product, the platform uses the one expiring first and the confirm screen says so.
A pass that is used up or expired shows a notice instead of the form, no way to record a visit by mistake. The back arrow at the top left returns to the customer overview.
Adding a private photo or note
The sell screen and the use screen each carry an optional Add a photo or note block, collapsed at the bottom of the form. Open it to attach a photo, such as the paper receipt, and a short note about the sale or the visit.
Both fields are for your team only. The photo and note show on the pass visit history for staff and in the partner and admin dashboards, and never on the member's own pass page. This works the same way as the photo and note on points and stamps, and both fields are optional, so you can leave them empty on a normal sale or visit.
Looking up a member's past passes
When a pass is used up or expires it leaves the active list, but it is never lost. On a customer's overview, a calm Past passes row appears beneath their active passes with a count of how many they hold with you. Open it to reach the passes hub.
There, below the active passes and Sell a pass sections, a Past passes list shows the used-up and expired passes, the most recent first. Each row names the pass, marks it as used up or expired, and shows its end date. Tap a row to open that pass's full visit history, including any internal note and receipt photo. When a customer has a long history, the list pages through Previous and Next, so every past pass stays reachable.
This is a read-only record. Selling and ticking off visits stay with the active passes above, so an old pass can never take a visit by mistake. If your plan later stops including prepaid passes, these histories stay readable. You can no longer sell passes or record new visits.
Undoing a recent visit
Scanned a 2 that should have been a 1, or the wrong member? You can undo from two places, each with a confirm step:
- On the member's passes hub, the recent activity section has an Undo recent visit button.
- From the customer overview, tap the history icon on the prepaid-pass row to open that pass's visit history. It carries a Use pass button to record another visit and the same Undo recent visit correction below the card.
Confirming restores the visits and writes the reversal as its own entry in the history. The original scan stays on the record. Each scan can be undone once. The undo covers only your own scans that have not already been undone; for an older visit or a colleague's scan, the partner uses Delete last visit in the dashboard.
Unlimited passes
Unlimited passes go through the same use flow. Nothing counts down; each confirm records the visit for the history and keeps the pass active until its validity window closes.