
Email sender and templates.
Set up email sending for notifications and verification.
On this page
Set the installation's sender name and address in the admin dashboard. Configure the email provider separately through the email configuration guide.
Sender settings (admin dashboard)
- Open Settings → Email settings as an administrator.
- Enter Mail from name, the name recipients see.
- Enter Mail from address, using an address your email provider allows you to send from.
- Check the preview.
- Select Save changes.
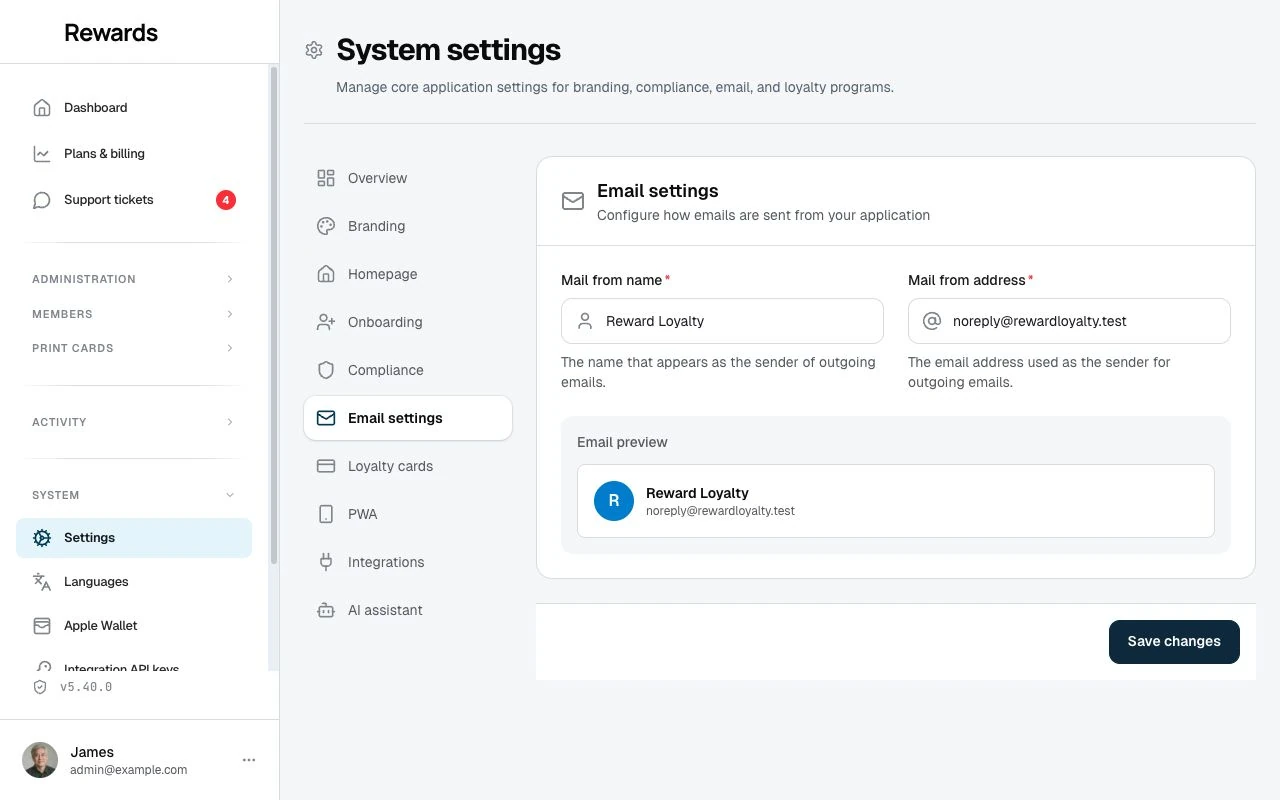
These saved settings override the corresponding server defaults.
What these settings affect
Account and security messages use the installation's identity. Business-related messages use the business name and reply address described below, while retaining the installation's sending address.
Contact-form messages go to the system owner, not the Mail from address. The owner address comes from installation or the APP_ADMIN_EMAIL server override. The submitter's email becomes the reply address. If no real owner address is available, the app records the message in its application log.
Partner-level overrides (business settings)
Partners configure their identity in Business settings.
| Email field | Value |
|---|---|
| Sender name | Business name, or the partner account name if unset |
| Sender address | The installation's configured sending address |
| Reply-to | Business email, or the partner account email if unset |
This applies to program messages and campaigns. The Show email on public card switch controls public display only. It does not disable replies to business emails.
Testing
Use a test account to request a sign-in code. Check that it arrives and that the sender name and address are correct. For business identity, check a business-related message too.
Troubleshooting
| Problem | Check |
|---|---|
| No email arrives | Provider credentials, sending limits, and delivery logs |
| Email arrives in spam | Sender-domain verification and your provider's delivery report |
| Wrong sender name | Installation settings for account email; Business settings for business email |
| Replies reach the wrong address | The business email and its account fallback |
Use Email configuration for connection problems and Sign-in troubleshooting for missing codes.
Email provider configuration (.env)
The dashboard changes sender identity. It does not replace SMTP or provider setup. The provider guide contains the required server settings and test steps.
Customizing email templates
For code customizations, the shared HTML and plain-text components live in resources/views/vendor/mail. The branded theme is html/themes/platform.css within that folder.
Updates replace edited templates unless you protect the folder. Add it to your existing PROTECTED_PATHS list in .env:
PROTECTED_PATHS="resources/views/vendor/mail/"
Preserve any other paths already in the list. See What updates preserve before changing templates.
Related topics
- Email configuration: Connect a sending provider.
- Automatic messages: Choose member messages.